Printer troubleshooting
Start with the exact message and the simplest reversible checks. Stop when parts do not fit, damage is visible or the printer asks for a different component.
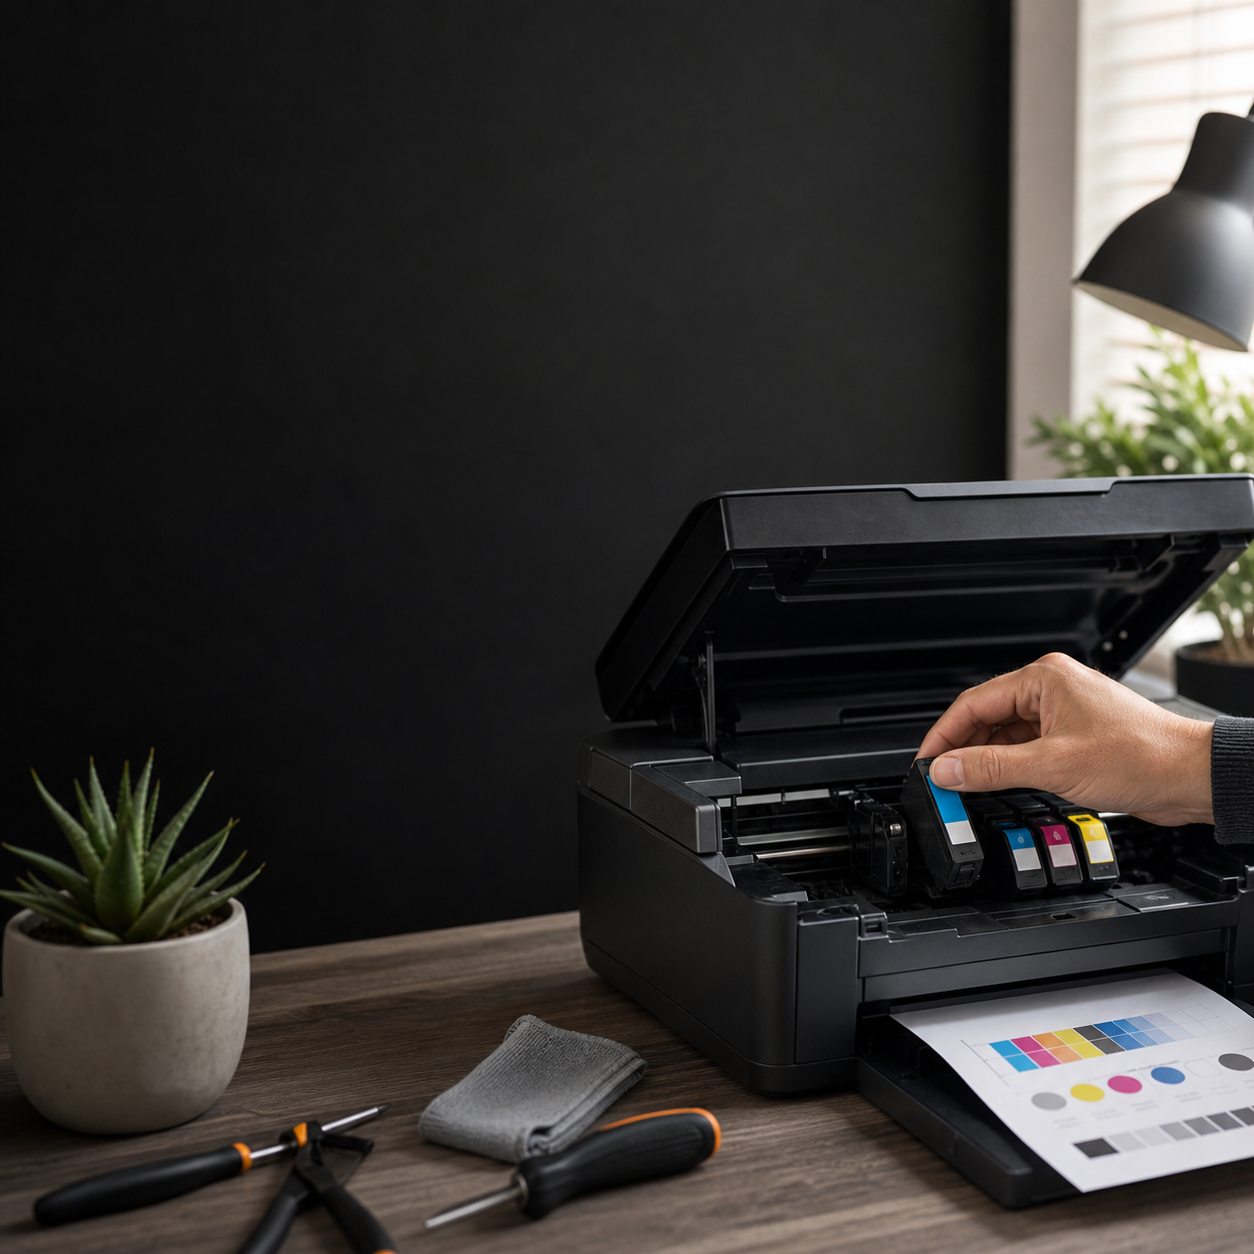
A cartridge problem does not always mean the new supply is faulty, and it does not always mean the printer has failed. Recognition errors, protective packaging, installation position, dried ink and separate laser-printer components can produce similar symptoms. A careful sequence of checks is safer than repeatedly removing parts or accepting every automated prompt.
Before troubleshooting, note the full printer model, cartridge code and exact message. Keep packaging and purchase details. Use the manufacturer’s instructions for opening covers and moving the print carriage, and switch off only when the manual tells you to.
The printer does not recognise the cartridge
First compare the complete cartridge code with the printer model. Similar cartridges can have different chips, contacts or regional identifiers. Confirm the correct colour is in the correct slot and that the cartridge is fully seated without force.
If the match is correct, remove and reinstall it once according to the printer instructions. Check that no protective strip, clip or cap remains. Inspect electrical contacts for obvious dirt or damage, but do not touch nozzles, drums or delicate surfaces. Use only the cleaning method recommended by the manufacturer.
After a firmware update
A recognition issue that starts immediately after a printer update may relate to communication between the printer and cartridge. Record the firmware version and error wording, then contact the cartridge supplier or printer manufacturer. Avoid repeatedly updating, downgrading or resetting the device without reliable model-specific instructions.
Protective seals and shipping pieces
New cartridges may have tape, vent seals, plastic clips or transit covers. Leaving one in place can block ink flow, prevent toner movement or stop the cartridge fitting. Removing the wrong film or pulling at an unmarked part can also cause a leak or damage.
Compare the cartridge with the illustrated installation guide. Remove only the identified shipping pieces, in the stated order. Keep toner level, avoid shaking unless the manufacturer specifically directs it, and never use sharp tools to open a vent.
Print alignment and unexpected colours
After fitting ink cartridges, some printers request alignment. Load the recommended plain paper, run the built-in alignment process and follow any instruction to scan the printed sheet. Skewed text or coloured shadows can result when this step is skipped.
If colours are wrong, print a nozzle or quality check. Confirm every colour is in the correct position and that print settings match the document and paper. Do not run repeated deep-cleaning cycles without pause; they consume ink and may not resolve a hardware fault.
Blocked inkjet printheads
Gaps, missing colours or banding can indicate dried ink or blocked nozzles, especially after a printer has been unused. Start with the printer’s normal cleaning utility, then print another quality check. Allow the interval recommended by the manufacturer before repeating.
Some printers place the printhead in the cartridge, while others have a separate permanent or replaceable head. That difference changes the correct maintenance procedure. Avoid household solvents, pins and aggressive wiping. If approved cleaning cycles do not improve the pattern, seek model-specific support rather than using improvised methods.
Toner, drum and imaging-unit messages
Laser printers can have several consumables. Toner supplies the powder; the drum or imaging unit helps create the image; a waste-toner container collects excess material. Depending on the model, toner and drum may be combined or separate. Replacing toner will not clear a genuine drum warning on a machine with separate units.
Read the complete display message and code. Check the status page or consumables menu to identify the position. A faded page may indicate low toner, but repeating marks, background shading or lines can have other causes. Do not reset a drum counter unless the specified drum has actually been replaced and the manufacturer instructs you to perform the reset.
Pages are blank, faded or streaked
For inkjet printers
Check ink levels, vents, cartridge seating and the nozzle-test pattern. Confirm the document is not set to an unsuitable paper or economy mode. Use alignment or normal cleaning only as directed.
For laser printers
Check the toner position, shipping seal and displayed consumable status. Keep hands away from the drum surface. Repeating defects may need a drum, fuser or service diagnosis rather than more toner.
When to ask for help
Contact the supplier when the exact compatible cartridge remains unrecognised after one careful reinstall, when a new cartridge leaks, or when the error clearly follows installation. Contact printer support or a qualified repairer for mechanical noise, heat, damaged contacts, persistent paper contamination or messages naming an internal service part.
Send the model, cartridge code, photographs and exact error through the contact page or request a quote. The printer brands directory can also help organise model-specific enquiries. Cartridge Care Rossendale is available Monday to Friday, 9-5, on 01706 491066.
Frequently asked questions
Should I keep reinstalling an unrecognised cartridge?
No. Confirm the code and seals, then try one careful reinstall. Stop if it needs force or the same error persists.
Will replacing toner clear a drum warning?
Not when the printer uses a separate drum and specifically reports that component. Check the consumable name and code.
How many printhead cleaning cycles should I run?
Follow the printer manual and allow the stated pauses. Repeated deep cleaning wastes ink and can mask a fault needing support.
Still seeing the same cartridge error?
Share the exact message, printer model and cartridge code. We can help separate a supply mismatch from a printer or maintenance issue.